Dyeing Leather: How is Leather Colored? – Part I of II

Get some color, handsome!
Color plays a crucial rolein enhancing the appearance and vibrancy of our surroundings, from clothing (such as leather garments), furniture, vehicles, to the animal kingdom, where more colorful individuals stand out in their group.
Moreover, color also has the ability to influence an individual's temperament to the point of impacting mood changes that can vary from person to person. Therefore, it's not uncommon to hear people talk about green, for example, as a natural color or blue providing a sense of freshness.
In the context of leather, color has the ability to make a significant impact depending on the chosen or used shade. There are many different types of dyes and finishes, color tones, and styles available that have undoubtedly caught the attention of Qiwa's customers. clientes de Qiwa.
Below, we delve into some of the most important types of dyeing, as well as those used quite frequently. First and foremost, it's crucial to note that the primary color of leather depends entirely on the tanning method used. For instance, in vegetable tanning, leather is dyed brown, while in synthetic tanning, it's dyed white, or in chrome tanning, the leather is dyed bluish-gray.
The dyeing process itself is divided into two types: one where the colored leather sees dyes penetrating the surface and staining both sides, and the other where the pigmented area is additionally colored after being dyed from the inside. Let's explore these two types a bit further.
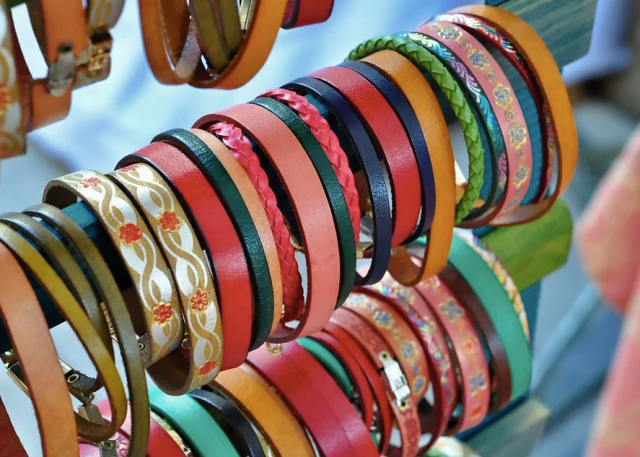
Color in Leather Dyeing
After tanning, leather is first dyed in most cases, achieved by immersing the leather in large dye barrels. The dye is later set, and excess dye is rinsed off to prevent excessive color sticking if not drained well. Since dyes are transparent, only darker colors can be dyed, most of which are known as aniline dyes. In the past, azoic dyes were used for similar purposes, but they were soon banned due to being considered harmful.
Pigmentation
A protective layer of paint pigment is sprayed after dyeing the leather. This is especially common in furniture leather, wallets, clothing, and shoes. This type is easily recognized by a simple water-rub test on the leather. If water doesn't penetrate the surface, it's pigmented leather. Smooth leathers are often designated based on the thickness of the deposited pigmented layer.
For example, aniline leather has no color layer; semi-aniline leather is identified by the use of little paint, as well as visible hair pores. Pigmented leather, on the other hand, has many colors, and hair pores are barely visible, if not entirely invisible.
By now, you would agree that dyeing leather is more of an art form than the science many tend to associate it with. Therefore, the type of process, the skill of the craftsman, and years of experience in the leather industry contribute to the impeccable results that Qiwa proudly boasts.
Delving into how leather is actually dyed, it's essential to consider the three basic stages used. These are leather preparation before dyeing, dye application, and finishing with a final top layer.
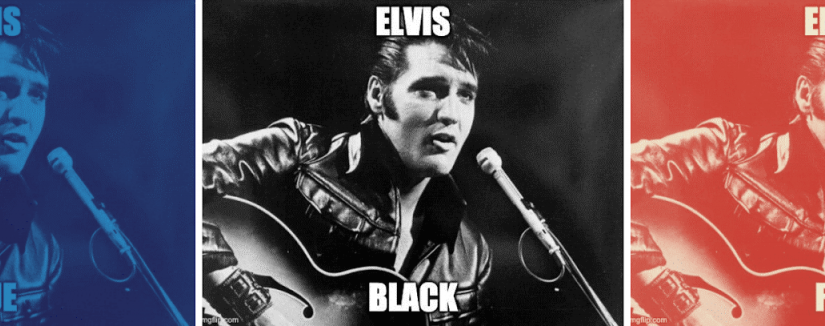
This Elvis also knows how to appreciate good leather
Leather Preparation for Dyeing
In this stage, we briefly revisit the tanning process to establish the number of protective layers and conditioners used on leathers, as well as address the dust and dirt that can develop on the surface over time. This requires much preparation anticipating the dyeing process.
The leather surface has to be as clean and flawless as possible for the dye to adhere with sufficient ease.
Dye Application
After preparing the leather, it's vital to ensure the dye is well-mixed before application. A couple of helpful tips are to use a stir stick to loosen any dye stuck at the bottom of the container or, if possible, shake the container to ensure the dye is well mixed. Dye application can be done using a cloth or a sponge.
Start by moving in one direction, but if the surface to dye is large, consider using a spray gun or airbrush to avoid mishaps and ensure even coverage. A second coat may be required, often multiple coats until the desired look is achieved, usually after three to six coats. In this case, it's best to work the second coat from the opposite direction back to where the first spray was done.
As many layers as necessary can be applied, but at intervals continuing only when the previous layer is completely dry, which also requires handling the surface to ensure it remains flexible. From the second layer onwards, it's often done in horizontal strokes alternately for each layer, and it's advisable to use a white layer first for a light tone and a black layer first for a darker tone.
An interesting note when using yellow dye is to apply a white layer first and then the yellow, as the dye will adhere more vibrantly and smoothly. This is known as yellow dye formulas being slightly translucent.
Let the leather dry for at least 24 hours, periodically lifting and flexing it to prevent it from becoming stiff. Don't forget to wear gloves when doing this, as the leather can be sticky initially but should disappear after polishing or applying leather gloss. Polishing with a cloth removes any dye residue and also gives the leather surface a polished look. Leather gloss is used to leave a shiny finish on the leather.
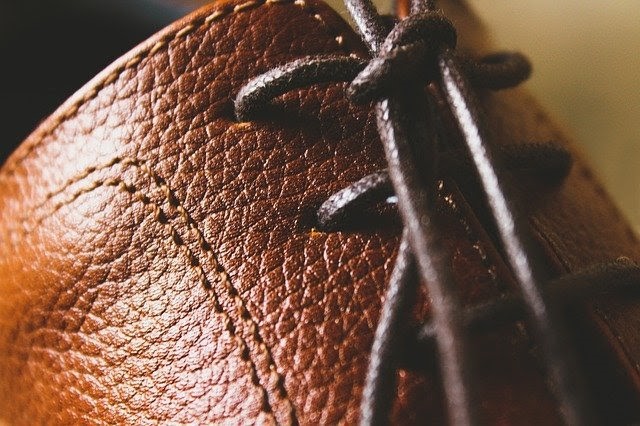
Nothing more satisfying than seeing a masterpiece just completed.
Color Mixing
When yellow is mixed with blue, you get various shades of green, while when yellow and red are mixed, you get different shades from orange to red.
Red and blue mixed give you shades of dark violet to light lavender, while red and violet give you shades of wine. For a tan or golden brown color, mix brown and yellow, and for dark brown, brown must be mixed with red.
Finishing with a Top Layer
After completing the first two steps and allowing the leather to dry, it's best to use a top layer that prevents peeling or flaking and protects the leather finish. Top layers for leather come in a wide variety, including satin acrylic finish, glossy finish with carnauba wax, and matte acrylic finish.
Protected Pigmented Top Layer
This is often applied, if not always, to transportation leather, i.e., leather primarily used in vehicles and motorcycles. The finish is achieved using leather paint, which is an opaque-colored leather dye.
This blog will continue in a second section where we will learn about the different types of leather coloration finishes…
Looking for Leather Apparel and Accessories in the Colors You Like?
Qiwa is a family-owned company dedicated to the manufacture of leather goods, accessories, automotive upholstery, and jackets with high standards of quality and design for 30 years. At Qiwa, we develop premium leather products of the highest quality, both with our brand and with brands from various designers, supporting various entrepreneurship projects..
We offer a wide variety of variedad de artículos en diferentes modelos, ya sea con terminados a tu gusto desde nuestro catálogo, o a medida de acuerdo a tus preferencias, y sí, con una amplia variedad de colores.
Learn more about our history here and our product catalog here. We also invite you to contact us directly here.
2 Replies to “
Teñido de las Pieles: ¿Cómo se Colorea el Cuero? – Parte I de II
”Julian
30/12/2022 at 9:30 pm
Muy interesante, algo que cabe mencionar es que es mas facil teñir pieles de mejor calidad, yo por lo general suelo comprar en Curtisur, lo recomiendo.
pieles para artesanos
08/06/2023 at 10:28 am
Muy interesante post gracias por guiarnos en todo el proceso ya que he estado tiñendo y pintando cuero durante algunos años, he aprendido algunas cosas en el camino, te recomiendo que si está usando un tinte, puede usar un protector de teñido para proteger ciertas áreas del cuero para que no se tiñan esto puede ser útil para crear patrones o diseños. Saludos